Installation, Login and Settings
Offermative is easy to set up and use. Here’s how to get started.
Installation and activation
Once you purchase / sign up for Offermative, the plugin will be automatically downloaded. If not, click here to download it.
Once downloaded, go to your:
WordPress Admin > Plugins > Add New > Upload.
Select the downloaded ‘offermative-discount-pricing-related-products-upsell-funnels-for-woocommerce.zip’ file and upload. Install and activate as you do for any WordPress plugin.
Login
On plugin activation, you’ll be taken to the:
WordPress Admin panel > Marketing > Offermative page.

A slide-in panel will open up from the right. Enter your email and password to login (Password will be automatically sent to the email you used to purchase Offermative).
Settings – discounts, restrictions, copywriting…
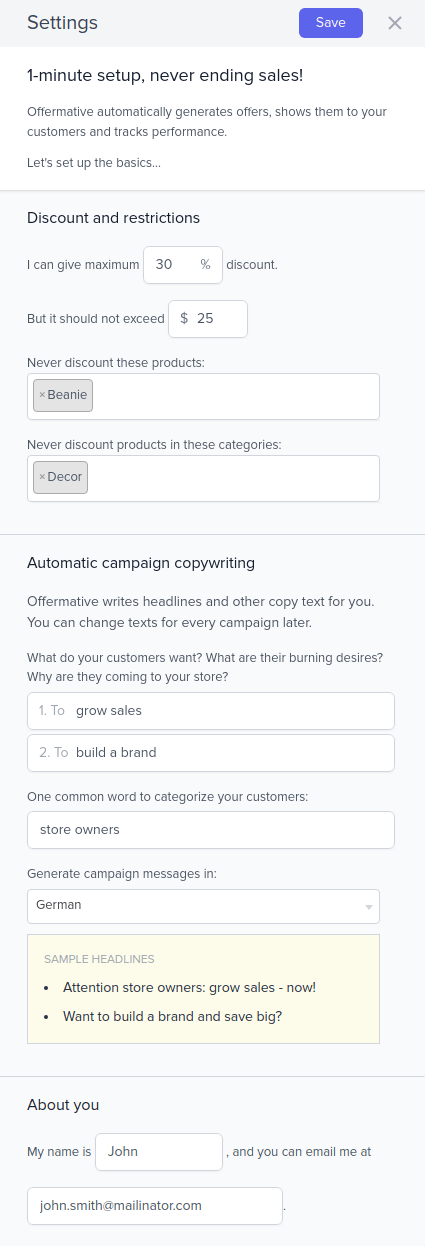
- On successful login, you will see a
Settingsscreen for initial configuration for automatic offer generation. - Under
Discount and restrictions:- Enter the maximum percentage discount and maximum fixed discount amount you’d like to provide. It will not exceed these limits in a single order whenever a discount is offered.
- Search and enter products / product categories you don’t want the discount to be applied on.
- Under
Automatic campaign copywriting:- Enter two common desires of your customers
- Enter who are your target customers
- Write something your audience really wants. Offermative will generate copy based on your inputs. You can change that anytime in the Settings.
- From the drop down, choose the language you want to show the offers to your audience.
- Under
About you, enter your name and email and click on theSavebutton at the top.
You are now set to generate offer campaigns and make them live.