Thank you for purchasing Offermative!
If your download does not start automatically, click on the button below.
-
Once downloaded, go to your
WordPress Admin > Plugins > Add New > Upload. - Select the downloaded offermative.zip file and upload.
-
Alternatively, you can search for “Offermative” on
Plugins > Add Newscreen and install it from there. - Activate the plugin and follow instructions in the plugin to setup your campaigns.
Quick Start Guide
Offermative is easy to setup and use. Here are some notes to get started quickly.
1. Login
-
After activating the plugin, you’ll be taken to
Marketing > Offermativepage. A login screen will open up as a slide-in panel from right. Enter your email and password to login (Password will be automatically sent to the email you used to purchase Offermative). - If you haven’t purchased Offermative yet, you can create a new account by signing up for a paid plan here or using the link in the login screen.
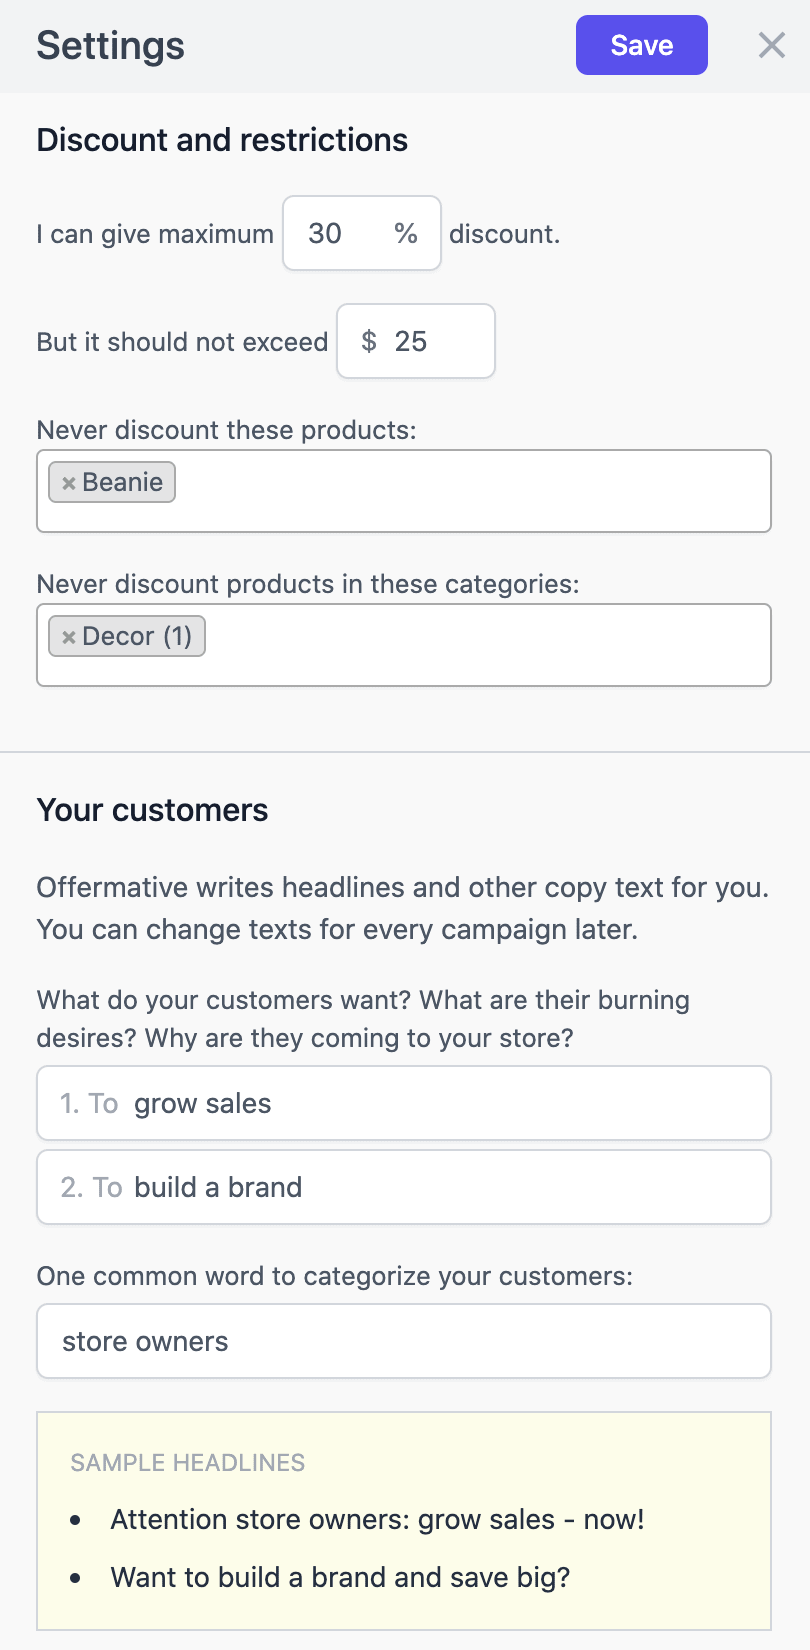
2. Setting up discounts, restrictions and target audience
- After successful login, you will see a “Settings” screen for initial configuration for automatic offer generation.
- Enter the maximum percentage discount and amount discount you’d like to provide.
- Many Offermative campaigns are nudges and recommendations, but whenever discount is offered, it will not exceed these limits in a single order.
- Sometimes you have certain products or categories that you can’t discount. You can list them in settings too.
- Offermative automatically writes the entire offer copy. But you need to tell it three things about your target customers. Two common desires they have, and one word that categorized your customers (if you’re not sure what to write here, just use “customers”).
- We want to “speak customers’ language”, so try to write something your audience really wants.
- And yes, you can change Offermative’s copy text within each campaign, and can also come back and change it in Settings later.
- Offermative also supports multiple languages. Choose a language you want to generate offer campaigns and show to your users.
- Save your Settings.
3. Generating, editing and publishing campaigns
-
Now
click on
Generate Campaignsbutton in the top bar. - You can choose some offer types from the list Or choose ‘Let Offermative decide’ option.
-
Our intelligent system will generate a set of unique offer campaigns tailored for your store as shown below.

- Use the back and forth arrows above to navigate through each campaign. Remove or edit rules you don’t like, edit headlines, offer start and end date, etc. as you want.
-
Tick the
Approvebox for each campaign you want to go live with. -
Once you’re done, click the
Publishbutton. All your approved campaigns will run for the time period you have set.

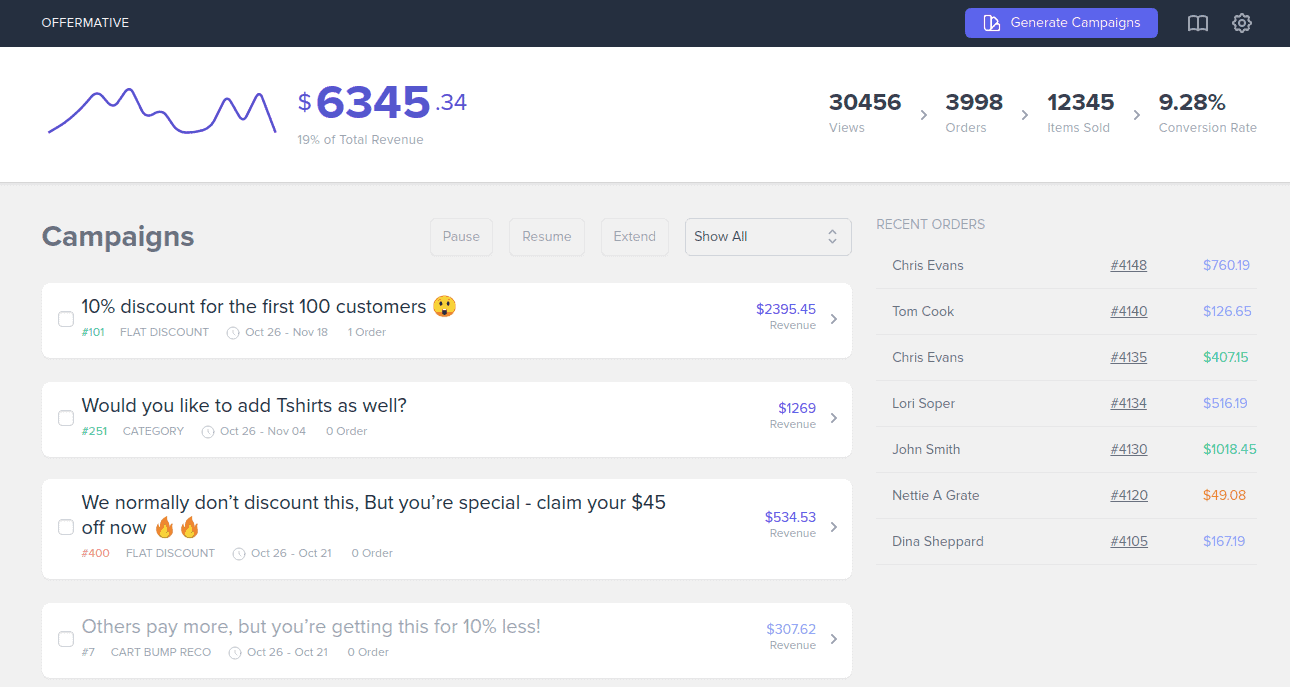
4. Tracking performance and campaign management
-
Go to
Marketing > Offermativewithin WordPress Admin to track performance, manage campaigns and generate new ones. -
At the top, you will see a summary of performance – revenue from
Offermative campaigns, views, conversions etc.
- Click on a campaign in the campaigns list to see its details. This will open a slide-in panel from right, show you campaign details and performance summary report. You can also edit or delete the campaign from here.
- You can stop or extend any campaign by selecting it within the campaigns list and clicking on appropriate buttons at the top of the list.
- You can also filter campaigns from above the list.